


You're halfway to the dog park when your small dog shifts in the booster, the tether twists around a harness strap, and a sudden brake sends the seat forward. Nothing has to “look broken” for the setup to be unsafe. A dog car seat strap works only when the seat, vehicle anchor, harness, tether, and hardware act as one restraint system.
That system also needs to suit your dog's behavior and your travel plans. If your dog can't settle safely in the car, arranging care through dog boarding and pet sitters may be a better choice than improvising with a loose leash or an unsuitable carrier. For dogs who do ride, a design-forward seat can make the setup more comfortable and visually compatible with your interior, but appearance never replaces correct restraint engineering.
Why a Dog Car Seat Strap Matters More Than You Think
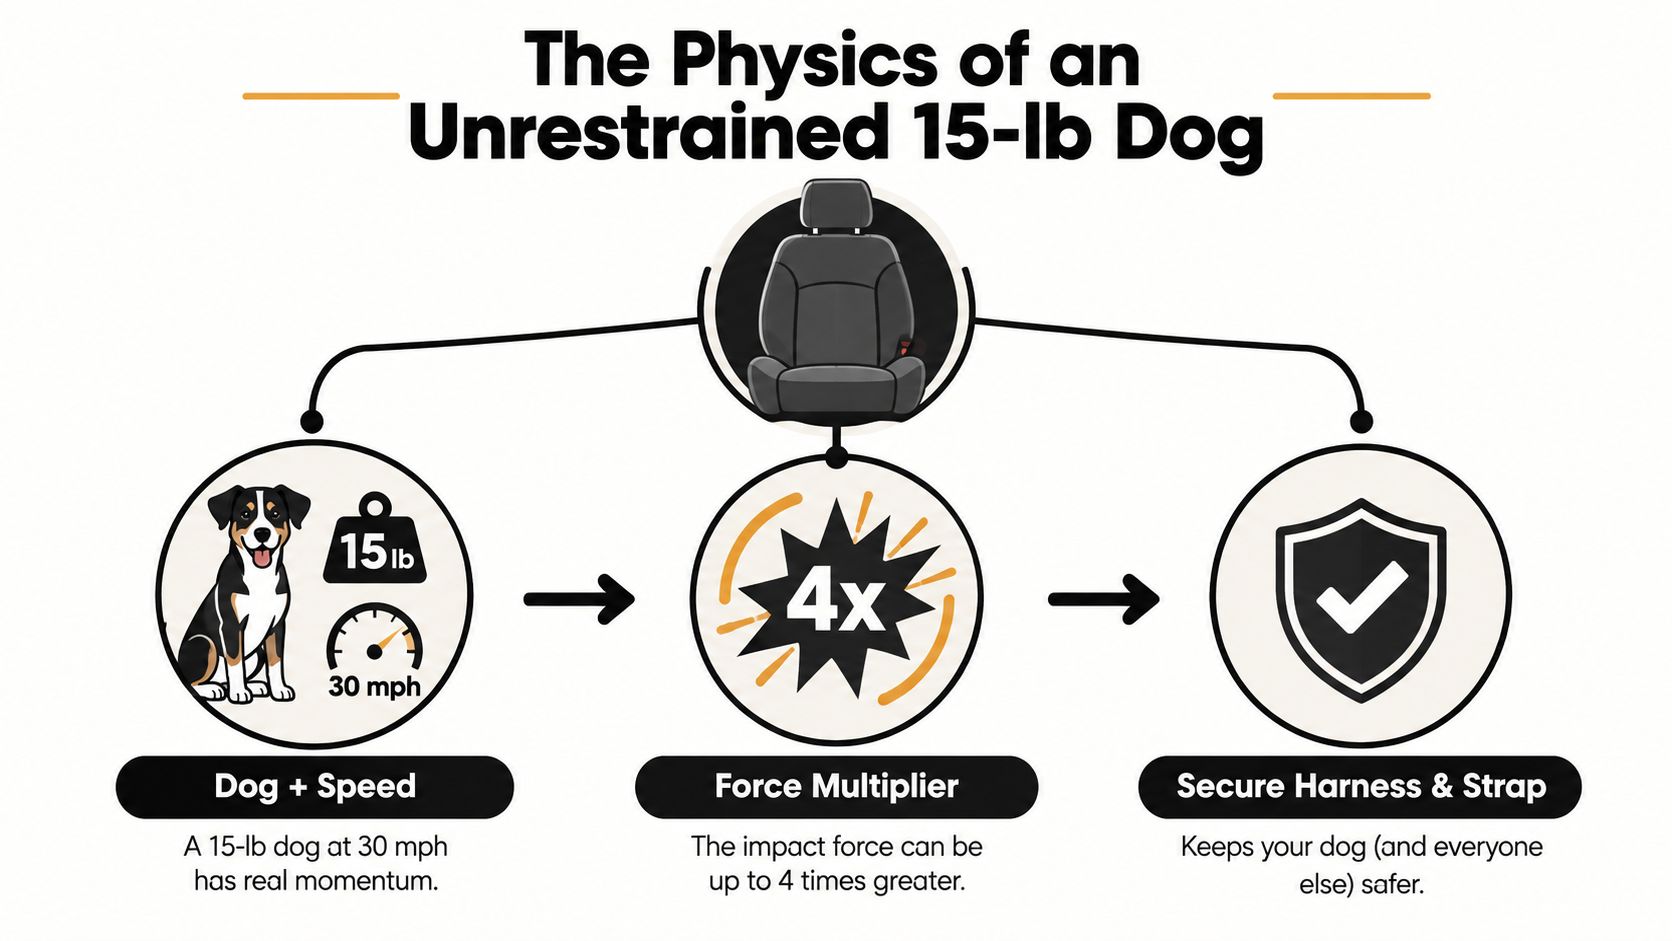
A booster seat gives a dog a defined place to sit. It doesn't, by itself, stop the dog from continuing forward when the vehicle brakes. The tether is the connection between that seat and the dog's harness, so a failure anywhere in the chain can turn a comfortable-looking arrangement into a dangerous one.
Owners often reach for shortcuts. A leash clipped to a collar concentrates load at the neck. A tether connected to a weak clip can release under force. A dog riding loose can move across the cabin, interfere with the driver, or strike a seat, door, or person. Even a carrier door isn't a substitute for a tested restraint system if the carrier itself isn't secured to the vehicle.
Practical rule: Treat the strap as a connector, not as the complete safety product.
Independent testing has exposed why this distinction matters. The Center for Pet Safety's 2015 pet seat pilot study evaluated small-dog travel products and warned that the front passenger seat isn't the safest location because of airbag deployment and occupant-compartment intrusion during frontal crashes. Its carrier summary also identified a historical lack of performance and dynamic testing standards for pet travel carriers. A tether can't compensate for a seat or carrier that fails as a whole.
Build the restraint chain deliberately
Start with the rear seat, then secure the booster according to its design. Add a properly fitted harness, connect the tether to the harness attachment point, and adjust the range so the dog can sit and lie down without reaching the front seat. If you're comparing seat shapes and installation methods, this guide to securing a dog in a car gives useful setup context.
The most reliable visual result comes from matching the restraint hardware to the seat rather than adding a dangling leash to an otherwise polished carrier. A structured seat, clean webbing, reinforced attachment point, and compatible harness create a setup that looks intentional because its parts work together.
Choosing the Right Strap Style for Your Setup
The right dog car seat strap depends on the seat architecture and the harness it connects to. A compact bucket, a flat-bottomed booster, and a structured carrier place different demands on the tether. The prettiest hardware is still the wrong choice if it twists, slips, or loads the dog's neck.
| Strap Style | Force Distribution | Harness Compatibility | Best Seat Match | Common Failure Mode |
|---|---|---|---|---|
| Single-clip tether | Concentrates connection at one harness ring | Works with a compatible rear D-ring | Minimal bucket seats | Twisting or uneven rotation |
| Dual-clip splitter | Balances the connection across two points | Requires a harness with correctly placed attachment rings | Flat-bottomed boosters | One clip takes more load than the other |
| Adjustable slide-bar tether | Controls excursion through a structured adjustment point | Best with a stable back attachment | Structured premium carriers | Slider slips or binds when misrouted |
| Booster-integrated anchor strap | Keeps the tether within the seat's design | Must match the seat's internal anchor system | Booster seats with built-in hooks | Anchor or stitching becomes the weak link |
A single-clip tether is visually clean and easy to use. It suits a small, minimal seat when the harness has a strong, centered back ring. The trade-off is concentrated loading. If the dog turns repeatedly, the strap can twist and pull the harness off center.
A dual-clip splitter spreads the connection across the dog's shoulders, but only when both attachment points are positioned correctly. It can work well with a broad, flat booster, though extra webbing can clutter a refined leather or boucle interior and create more opportunities for tangling.
The adjustable slide-bar design offers the most control over movement when the carrier provides a stable route for the strap. It suits a structured seat with a dedicated top loop, especially when the slider stays flat and locks under tension. A booster-integrated anchor is the cleanest option when the seat maker has designed the hook, stitching, and tether as one system.
ASTM International's F3725-25 specification establishes a uniform specification for harness restraint systems used in motor vehicles for certain dogs. That development gives buyers a clearer benchmark than vague safety language, but compatibility still has to be checked at the product level.
Installing and Adjusting Your Dog Car Seat Strap
Begin with the booster on a level rear seat. The seat shouldn't rock when you press its base, and its vehicle belt or anchoring route should follow the manufacturer's intended path. If the design uses a LATCH anchor, use the specified anchor. If it uses the vehicle seat belt, route the belt through the carrier's reinforced path without crossing or twisting the webbing.
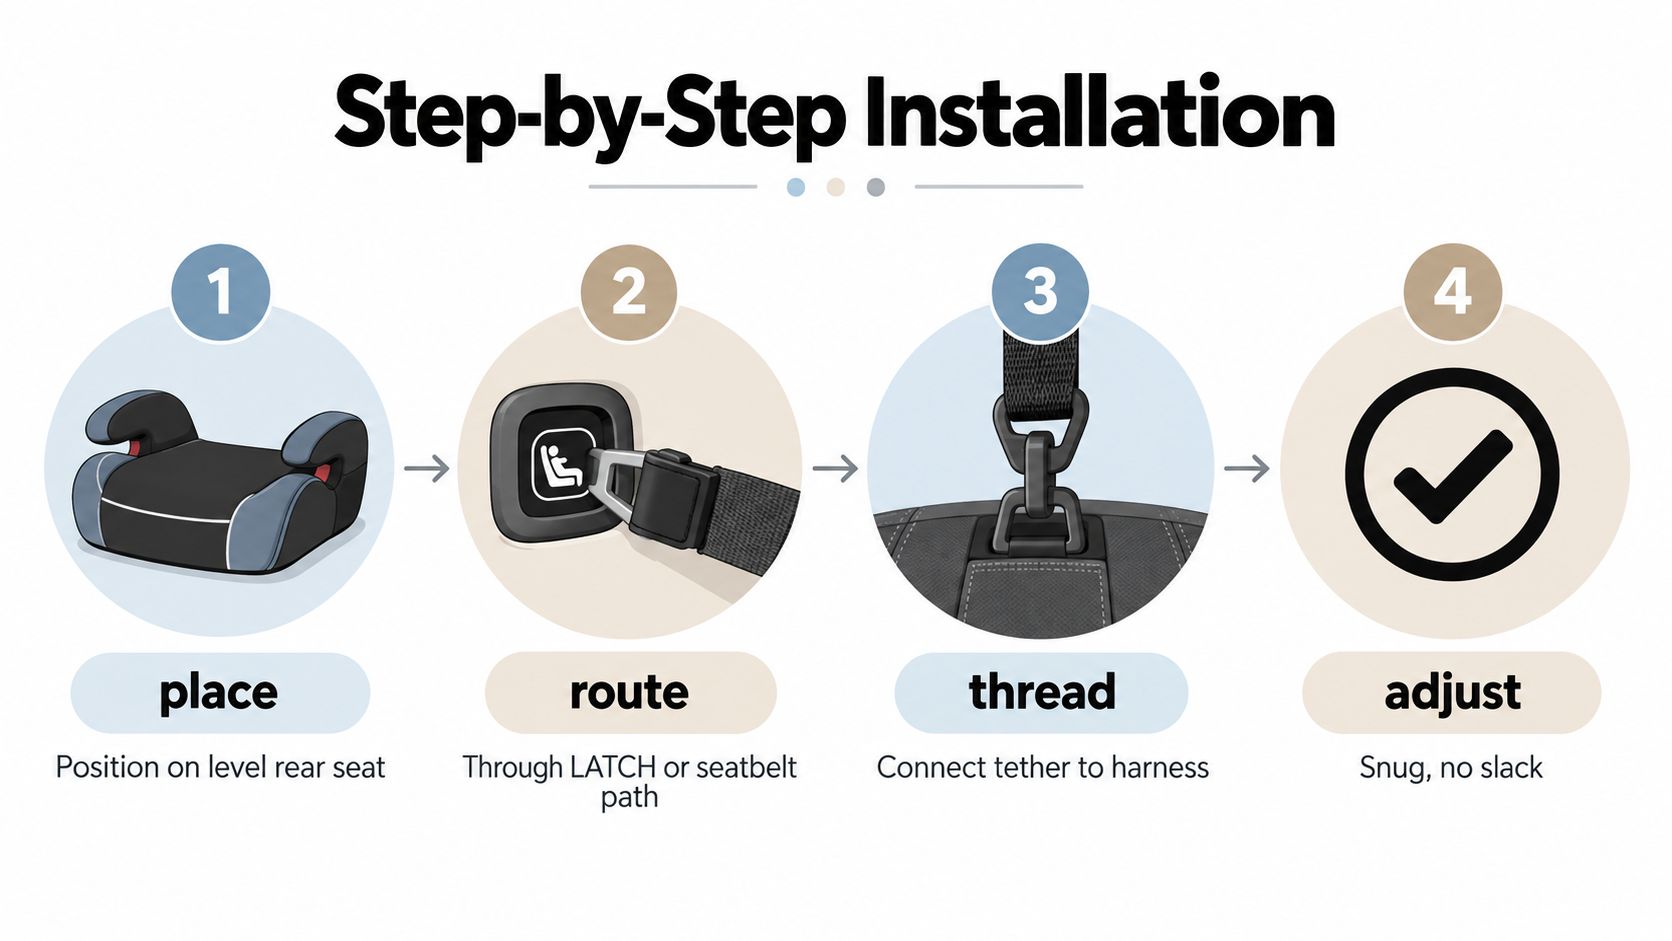
Thread the tether through the dedicated top loop or anchor path until the webbing seats fully into the reinforced section. Run your fingers along the strap. It should lie flat, with no half-twist hidden beneath a cover or cushion. Engage the slider and pull the free end under tension. The adjuster should lock without binding.
Set the length before the dog settles in
Clip the harness to the tether before placing the dog in the seat. This order avoids trying to connect a panicked or wriggling dog after it has already entered the carrier. It also lets you check the clip, D-ring, and strap route while the system is visible.
Set the tether as short as possible while still allowing the dog to sit and lie down. Neutral safety guidance commonly uses roughly 6 to 12 inches for many dogs, and recommends checking that the assembly shifts no more than about 1 inch, or 2.5 cm, at the base when tugged (practical dog restraint installation guidance). Those figures are a fitting benchmark, not a universal size rule. Your dog's body shape, harness design, seat depth, and vehicle layout still matter.
The harness needs room for normal breathing and posture. Keep about two finger-widths of slack between the harness and the body, but don't leave enough looseness for the dog to back out. Check that the tether can't reach the front seat or window. A dog that can build a long forward run has more room to load the system abruptly.
Watch the setup demonstration below for a visual reference, then perform the same checks on your specific seat and harness.
Finish with a shake test. Grip the tether and pull forward firmly. The dog, harness, booster, and vehicle belt should move as one connected unit. If the seat shifts independently, the strap loosens, or a clip rotates toward the neck, stop and correct the installation. Nandog's car seat collection for dogs provides additional context on seat structure and travel positioning.
Matching the Strap to a Compatible Harness
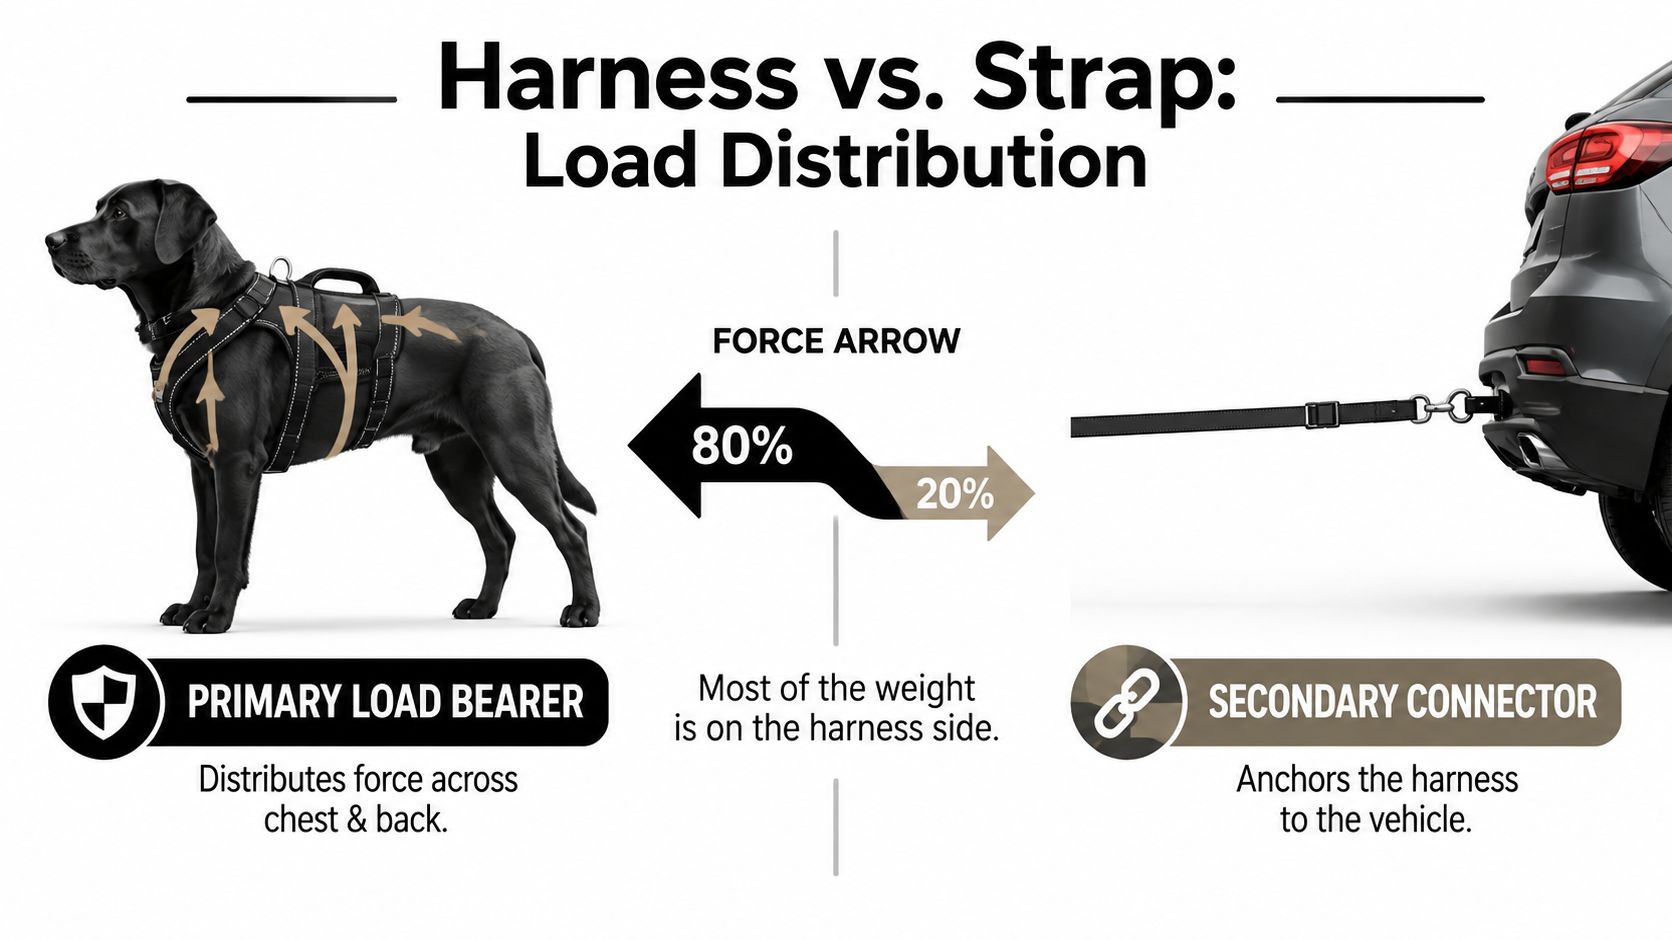
The harness carries the primary load. The dog car seat strap only transfers that load to the vehicle, so a strong tether paired with a poorly fitted harness is still a weak arrangement.
Start with the dog's chest girth, then check back length and neck circumference. Chest girth determines whether the harness can sit around the rib cage without sliding forward. Back length affects where the D-ring lands relative to the seat and the dog's shoulders. Neck circumference matters because a harness that rides upward can turn a chest connection into pressure against the throat.
Fit the harness before judging the strap
A two-clip harness can provide a more balanced connection than a vest-only or single-point design when its rings sit symmetrically over the shoulders. That doesn't make every two-clip harness safe automatically. The chest plate, belly straps, buckles, and stitching still determine how the load travels through the dog's body.
Check the D-ring placement against the tether clip. The clip should close completely and sit in a direction that doesn't force the gate against the seat wall. Compare strap width and hardware geometry. A narrow tether attached to a wide harness ring may work mechanically, but a bulky clip can rotate or catch on nearby fabric.
Common fit failures are easy to spot:
- Chest plate riding upward: The harness is too loose, too short through the back, or shaped poorly for the dog.
- Loose belly strap: The dog can slide forward inside the harness instead of loading the chest.
- Buckle over the trachea: The harness has shifted and is no longer distributing pressure across the rib cage.
- Mismatched attachment rings: A splitter or dual clip pulls unevenly because the harness wasn't designed for that connection.
Use the dog harness fitting guide to compare the harness shape with the seat tether before driving. Then perform a sit test, a lie-down test, and a gentle forward tug. The harness should stay centered, the dog should breathe and change position normally, and the pull should transfer into the chest and back rather than the neck.
Safety Checks Before Every Ride
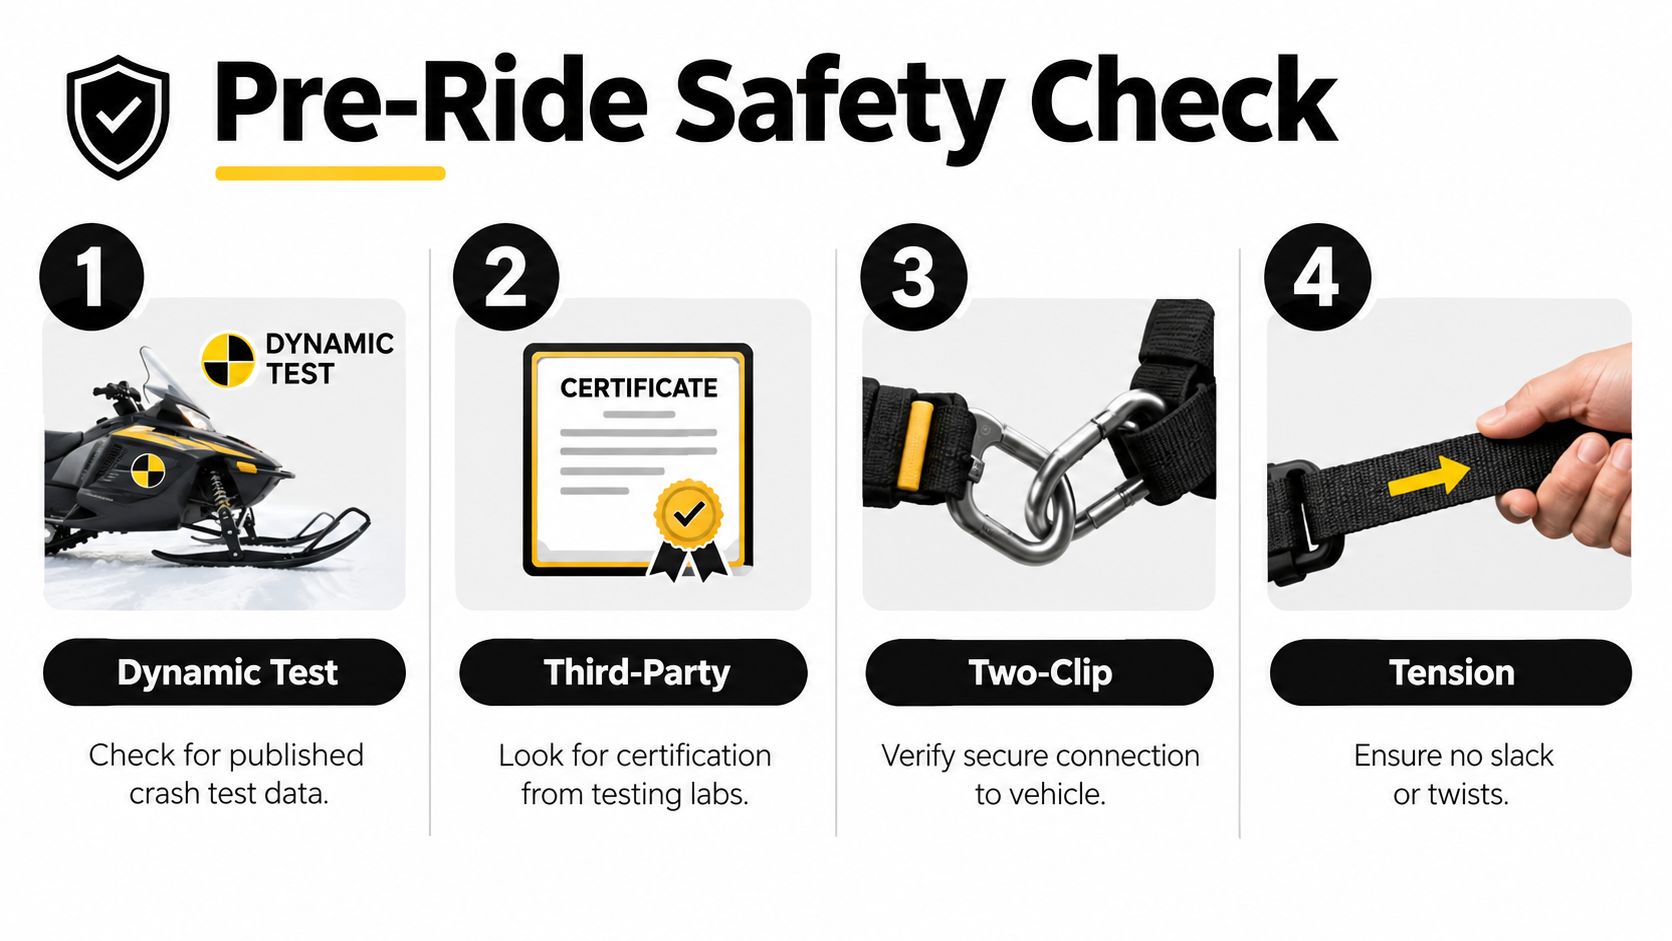
The label “crash tested” doesn't tell you enough. Independent testing by the Center for Pet Safety found that 10 of 11 restraint harness products failed to meet minimum safety expectations in simulated 30 mph frontal-impact conditions (2013 harness study results). Reported failures included torn straps, released buckles, and the test dog becoming a projectile.
A credible claim should identify the test method, the product configuration, and the organization that conducted the evaluation. Look for dynamic sled testing, published force limits, third-party certification, and a methodology you can review. “Tested to industry standards” is too vague unless the maker names the standard and explains what was tested.
Use a short inspection ritual
Before each drive, run your hand over the restraint chain:
- Webbing: Look for fraying, cuts, twists, or chewing.
- Hardware: Confirm hooks close fully and buckles lock without unusual play.
- Harness: Check the fit at the chest, belly, and neck.
- Seat: Confirm the booster remains level and its belt or anchor route is tight.
- Range: Make sure the dog can sit and lie down but can't reach the front cabin.
The restraint system deserves the same attention during longer trips, including camping with pets in an RV. Movement, repeated loading, and changing seat configurations can expose problems that weren't visible during the first installation.
Troubleshooting Common Strap Issues
A customer once brought in a seat because the tether looked secure but folded into a tight twist whenever the dog leaned toward the door. Round webbing made the rotation worse because it had no stable flat face. Flat nylon webbing is easier to inspect and keeps its load surface aligned. The fix was simple: unclip the tether, lay the strap completely flat from anchor to harness, and remove the half-twist before clipping it back in.
Slack usually develops for one of three reasons. The harness may have loosened as the dog moved, the anchor may be positioned too far from the seat, or the tether may be longer than the dog needs. Refit the harness first, then shorten the tether until the dog can still sit and lie down. If the strap continues to lengthen, the adjuster isn't holding under tension and the product should be removed from service.
A slipping buckle deserves more suspicion than a cosmetic scuff. Compare the hardware with the manufacturer's specification, check whether the gate closes completely, and inspect for bent metal, worn acetal, stretched stitching, or a distorted ring. Replace the strap when the hardware no longer locks positively. For related vehicle-belt damage caused by chewing, professional seat belt repair is more appropriate than hiding the damage beneath a seat cover.
Premium construction can reduce nuisance problems through flat webbing, reinforced stitching, stable sliders, and purpose-built hooks, but no material makes inspection optional. A well-designed Nandog setup still needs a hands-on check whenever the seat moves between vehicles or the harness fit changes.
Cleaning, Maintenance, and Smart Buying Tips
Restraint care should cover the whole system, not just the visible strap. Wipe webbing and buckles regularly so fur, sand, and food residue don't interfere with the adjuster or clip gate. Inspect the stitching, anchor loops, and hooks for fraying, bending, corrosion, or crushed edges.
Use a gentle cleaning method suited to the material. Fabric webbing can tolerate a careful wash in a mesh bag when the manufacturer allows it. Plastic-coated tethers generally need only a damp cloth. Dry metal hooks thoroughly after cleaning so moisture doesn't sit inside the mechanism or around the stitching.
Buy for compatibility, not decoration alone
Use this checklist before ordering:
- Buckle grade: Choose hardware that closes completely and resists accidental release.
- Stitching: Look for reinforced load points rather than decorative seams only.
- Testing evidence: Prefer a named test method, documented configuration, and independent evaluation.
- Harness loop compatibility: Confirm that the tether clip fits the D-ring without twisting or side-loading.
- Adjustment range: The strap should limit forward travel while preserving normal sitting and lying positions.
- Seat integration: Check how the booster attaches to the vehicle and where its internal hooks sit.
- Visual coherence: Match webbing, hardware, and upholstery to the seat, but never let color or texture override fit.
Replace any restraint after a collision, even if visible damage isn't obvious. Retire it sooner when you find fraying, a bent clip, loose stitching, or a slider that creeps under tension. The most polished travel setup is the one you can inspect quickly, install consistently, and trust because every part has a clear job.
Nandog Pet Gear offers design-forward dog car seats with built-in safety hooks and seat belt straps that connect with a dog's harness while securing the seat in the vehicle. Visit Nandog Pet Gear to choose a coordinated travel setup that combines practical restraint features with a refined, comfortable look.